
Hello dears!
Hope everyone had a fab week and is ready for the weekend! Even if you aren't ready for it, it's here anyway ;)
Please note that this post is very image-heavy, so anyone with a weak or slow internet collection has my greatest apologies! (Ironically, this includes myself)
So earlier this week I got my first ever Indie Polish delivery, from none other than Freckles Polish!
And along with those three pretties (which are Drew Peacock, Decedants of Salem and It's Not Fir) came a Franken Polish kit which I ordered.
In this beautiful kit came 4x 10ml bottles of suspension base (with mixing balls), 8 bags of glitter (your choice of colour and style), 4 bags of mica colour pigment (again, your choice of colour), 1 mini funnel, 1 mini scoop, 2 wooden stir sticks and a set of plastic nails to test the polishes on.
Basically, enough to make four of your very own nail polishes- how exciting!?
I made these four!
It was super easy to do, too, so I hope you're all ready for a little how-to!
First of all, you can see it can get a little messy, so make sure you have something covering the surface you're working on!
Then gather all of your bits and pieces! This is what's going into the purple :)
Add the mica pigment into the bottle (hint: use the funnel and the scoop!) I generally added 3/4 of the bag and then tested it before I added anymore onwards, which I did a scoop at a time. The kit didn't come with any instructions on how much to use, so I just kinda went with it...
Anyway, then just give the bottle a good ole shake and you'll get a pretty polish! I have absolutely no idea if you can mix mica colours (if anyone knows the answer to this I'd love to know) so I didn't give it a go this time round.
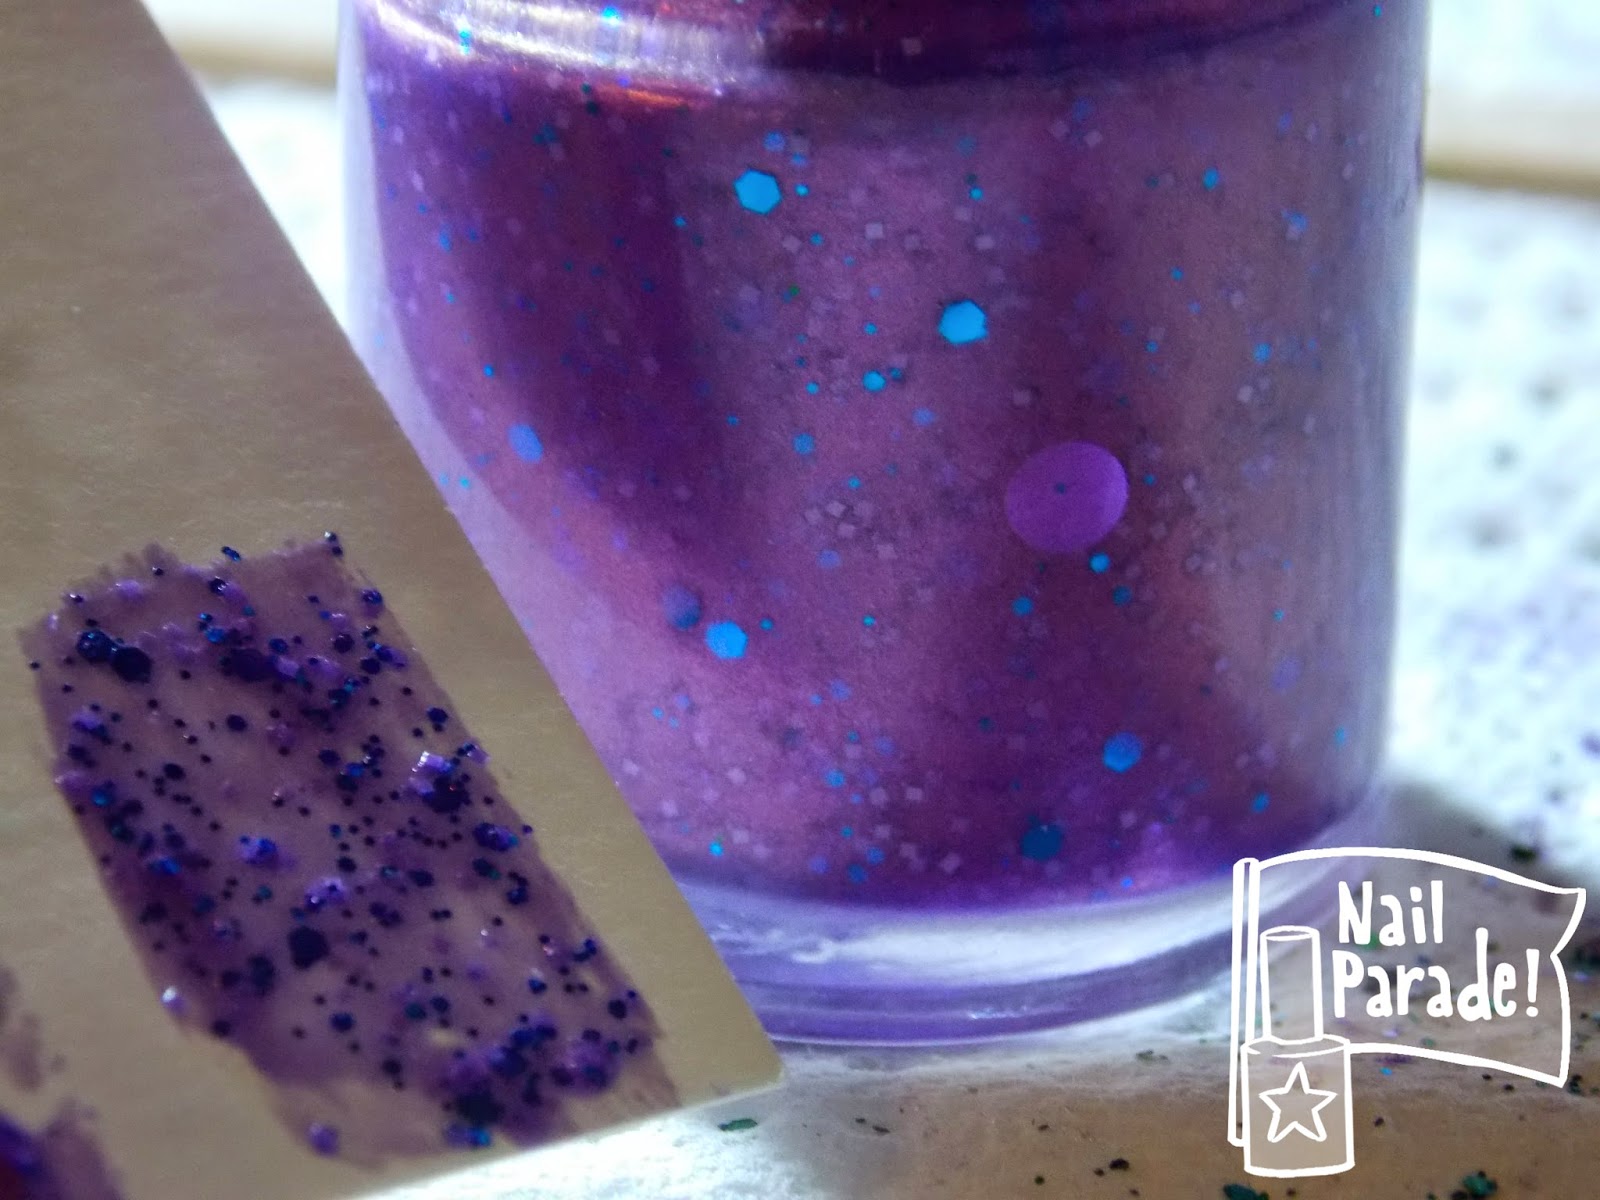
After a little bit of tweaking, and a bit more mica added, I ended up with that lovely shimmery lilac colour on the left! Now comes the super fun part...
...Time to add the glitter!
I added in some tiny lavender squares, a metallic blue glitter mix, and a couple of scoopfuls of large purple circles. Cute, huh!?
I dabbled in naming these, too, because why not! The purple one I've called Lavender Moon as the blue glitter reminds me of Space and the larger purple circles are a little like planets or moons themselves!
This green one has been deemed "Miss Moss" and prides a green base with pale green matte hexes and a green metallic glitter mix.
"Call Me Coral" is the next which I've named! Behold this coral coloured polish playing host to some golden hex coloured sequin! The remainder of the large pink circular glitters are also in here but they seem to be shy...
The final polish is the one I had planned from the start. It's a very dense dark blue glitter base, with added blue metallic glitter, charcoal holo glitter, and holo stars. I've named it "The Companion" as I was aiming for a Doctor Who theme, and the TARDIS is the only thing that never truly leaves the Doctor. (cough, nerd alert)
It's a tad frustrating to take off but I'm super happy with how it turned out, and would definitely like to dabble in the World of Indie Making again, or at least buy another kit...
I tried out the Companion as a part of a mani, which you can see here, paired with Models Own's Indian Ocean.
The holo quality of it is just perfect :D
You can grab this kit from Freckles Polish right here!
If you get one, I definitely want to see what you make so don't forget to tweet me @nail_parade or post on the facebook page!
If you could make any polish- any colour, any style, any glitter etc- what would you make, and what would you call it? Also, what are your thoughts on Indie Polishes? Do you, or would you, buy them?
Leave me a comment below!
Have a wonderful weekend everyone!
This is such a good idea - I've never heard of these kits before! The results look so nice too.
ReplyDeleteAlex // www.prettythoughtsx.blogspot.co.uk
Thank you! You should check the kit out :)
DeleteMiss Moss looks like the kind of polish I'd love to buy! :D Stunning <3
ReplyDeleteThank you! It means a lot :D Maybe one day I'll make my own indies and be able to send you one ^^ <3
Delete