
And back to the Shades posts! Today the feature is Plaited nails, glad you could join me :D


So, for plaited nails, it's a bit hard to explain on how to do it, but I'll give it a go!
The basic idea is that you have to criss-cross your different coloured nail paint stripes so they create a plaited effect and it's pretty easy to do!

I did 2 designs for this one, the first one was so messy (as you can see there!) that I re-did it in different colours, and then I ended up lining it which looked SO much better, so I highly recommend you do that if you have time!


So that was attempt one! :D One of the other things I've noticed about the design is that it actually layers up pretty quickly, so the tip of the nail is very thick of polish which means that it's slightly prone to peeling so if you do try this then watch out!
Oh, the colours used here are:
Nails Inc "You're A Peach" (Freebie in InStyle Mag)
"Antique Coral" by Natural Collection
Rimmel's Cocktail Colour in "Hawaiian Punch"
Aaand here's my second design! :D


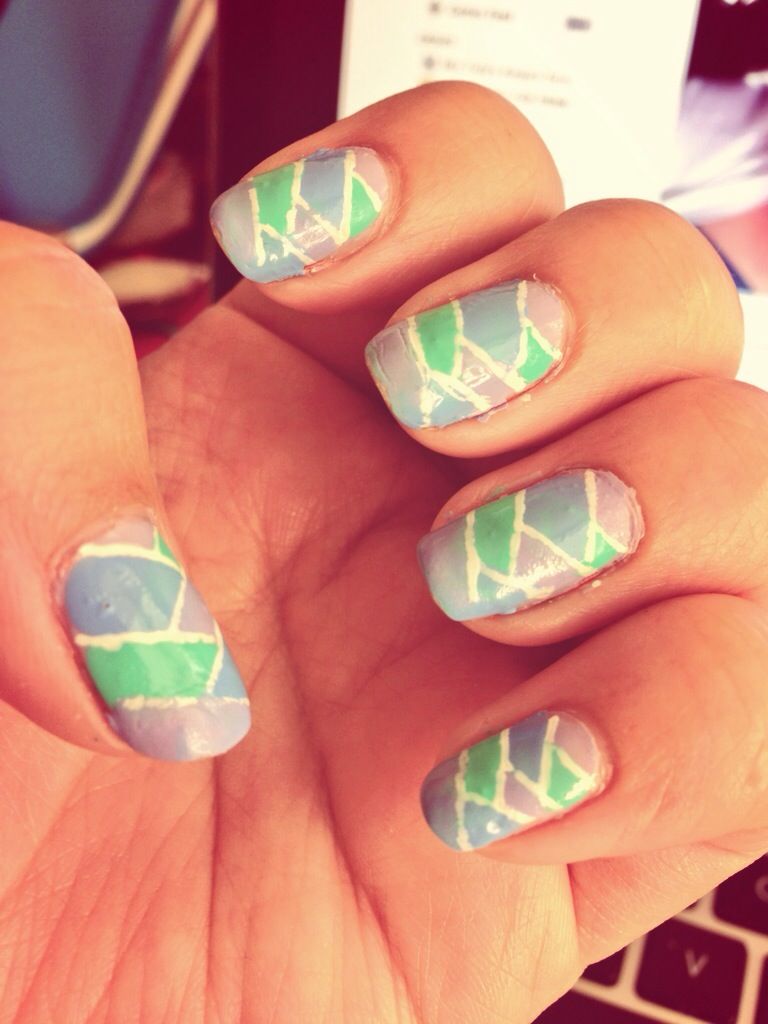
As you can see, the lines really tidy up the design, as well as making each colour look more individual and stand out! :D Yay! It almost make it a bit more like a stained-glass design.
Colours used here are Barry M Gelly's in Blueberry, Greenberry and Prickly Pear. Although, I would *not* advise using the gelly colours as they're really thick polishes to start with, and due to the amount that you're putting on, therefore take ages to dry. This causes the polish to then creep up your finger (like you can see on my middle one) and also to smudge quite easily in the first like... 10 hours...
The white lines are done with a Barry M nail art pen, but I didn't seal them in with a top coat so they all started to fade and scratch off within a few hours! So make sure you seal yours! Though, I would recommend using a striper instead for a more precise finish :D
Any questions, requests or general thoughts then please leave a comment below!
See you's later dears! :)
x
Comments
Post a Comment
I read and reply to every single comment, so make sure you leave one! (No verification needed)