
This shade is "Gradient Nails" and to celebrate the unusually warm, sunny Summer weather we've been getting here in England, I went with an orange-yellow theme.


If you have any other questions or comments, leave them below or tweet me @Nail_Parade

Aww, cute!
As you can see, you can do a highlight nail while keeping your ombre-gradients! All you've got to do is switch which way the gradient is going, so just flip over your sponge! :)
What you'll need to create this affect:

A make-up sponge! (You can use a bath sponge if you're all out of make-up ones, but beware, as you'll get loads of bubbles and bubble-imprints!)
The polishes you want to use!
And, of course, a clear/top coat!
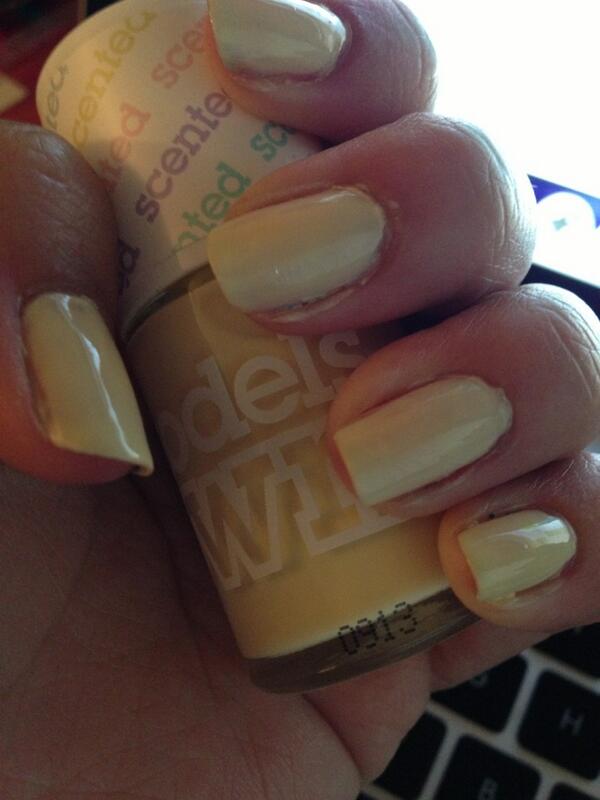
It's a really effect to create, too. All you have to do, is paint your nails (after treating your nails) with the lightest colour you're using, (or a white polish if they're all bright!), so for me, that's Model's Own "Banana Split"
Then, once you're ready, paint lines of each polish *in the order that you want them to go onto your nail* onto the make-up sponge, making sure there's plenty of polish on the sponge otherwise it'll dry out too soon and you'll get either no colour on your nails, or extremely bumpy nails! (Disaster!)
When you've done that, line up the sponge with your nail, and you want to roll it onto the nail first, so you get a decent base-coverage of the colours. Then just dab the sponge over the nail, moving it up and down so the colours blend together nicely :)
And then once you're happy with your coverage and blending, go and do your other nails and finish up with a top coat! Yay! :D

The colours, as shown above, are Barry M's 3 in 1 Strengthening, Base & Top Coat (not 100% sure what the name actually is there...), Models Own Banana Split (It's a smelly polish, mmm!), Barry M's Gelly Mango and Rimmel's Sunshine (Lasting Finish). They were a great combo to use, and I'm very impressed with them all as general polishes :)
Plus, they're great Summer colours if any of you want a good one!
Enjoy some more picturey goodness!

 |
| Not the most attractive picture of moi... |

And that's it! Hope you enjoyed this post and go and try out this look for yourself, it's great! :D
If anybody has any questions on how to carry out the ombre effect, leave them below and I'll be sure to answer them promptly!If you have any other questions or comments, leave them below or tweet me @Nail_Parade
Don't forget to subscribe here, follow my twitter and follow me on bloglovin'!
M'wah! See you paraders soon!
xxx
Comments
Post a Comment
I read and reply to every single comment, so make sure you leave one! (No verification needed)