
Hello everyone! Hope you all had a nice weekend.
Today I have a Rocky Road recipe for you all- they're very yummy and it's my own recipe- yay!

So, ingredients!


Today I have a Rocky Road recipe for you all- they're very yummy and it's my own recipe- yay!
So, ingredients!
You'll need:
4oz/110g of Margarine or Butter
12oz/350g of Chocolate- (Milk or Dark works best, but I'm sure White would be awesome too!)
2x packs of Oreos* (total of 308g)
200g of Marshmallows or Mini-Marshmallows
2-3 tablespoons (approximately) of Golden Syrup
200g of Glace Cherries (optional)
You can also add in some raisins and/or nuts if you want to!
*I recommend that you do not get the "double stuff" oreos, since you're smashing them up anyway and the cream kinda disappears. You can go for the chocolate filled ones if you want though! :)
Utensils you'll need:
A medium/large saucepan
A spoon
Scales
A tin of some form (I used a square 7" x 7" one, but a rectangular tin would probably be better)
Baking Paper
So, your first step would be to prep all your ingredients!
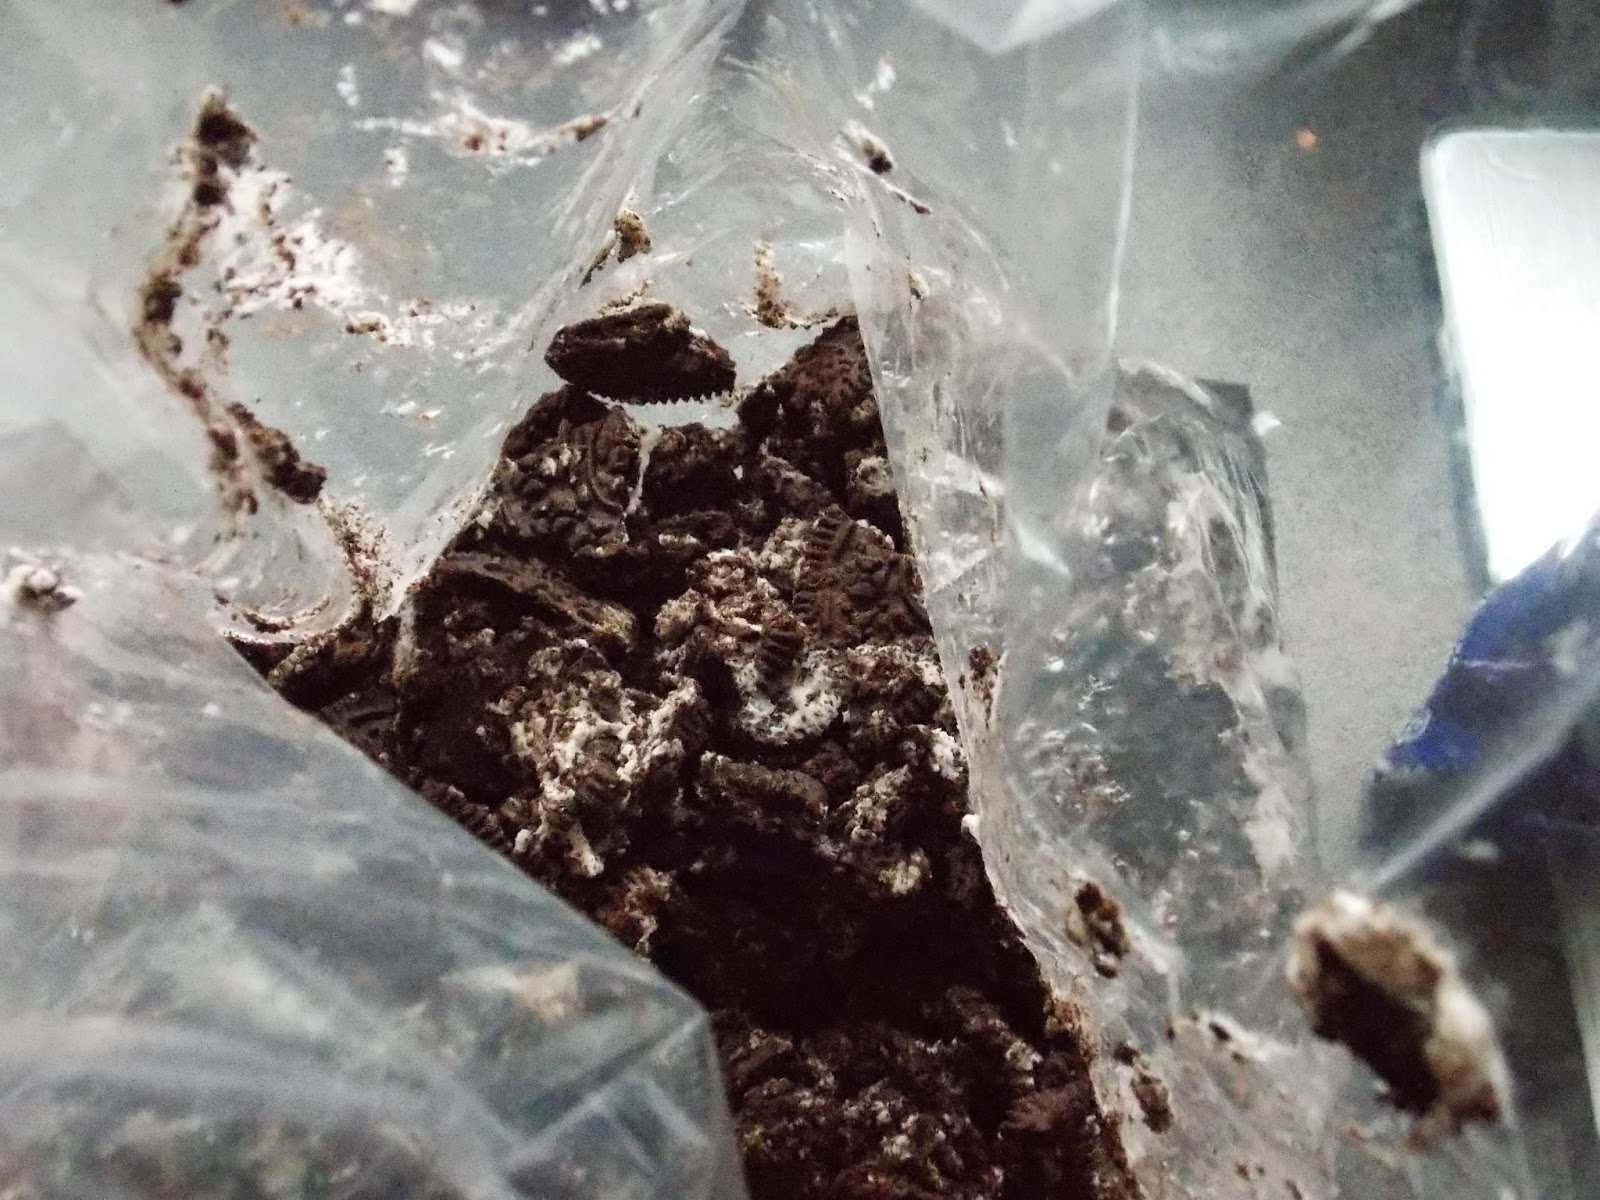
1. Crush those Oreos! To do this, it's easiest to put them in a large food bag, and either bash them with something (don't hurt yourself though!) or get a rolling pin and rock it from side to side with a bit of pressure on it. You want a mixture of sized pieces so don't worry if you think some are quite large.
It should look something like this!
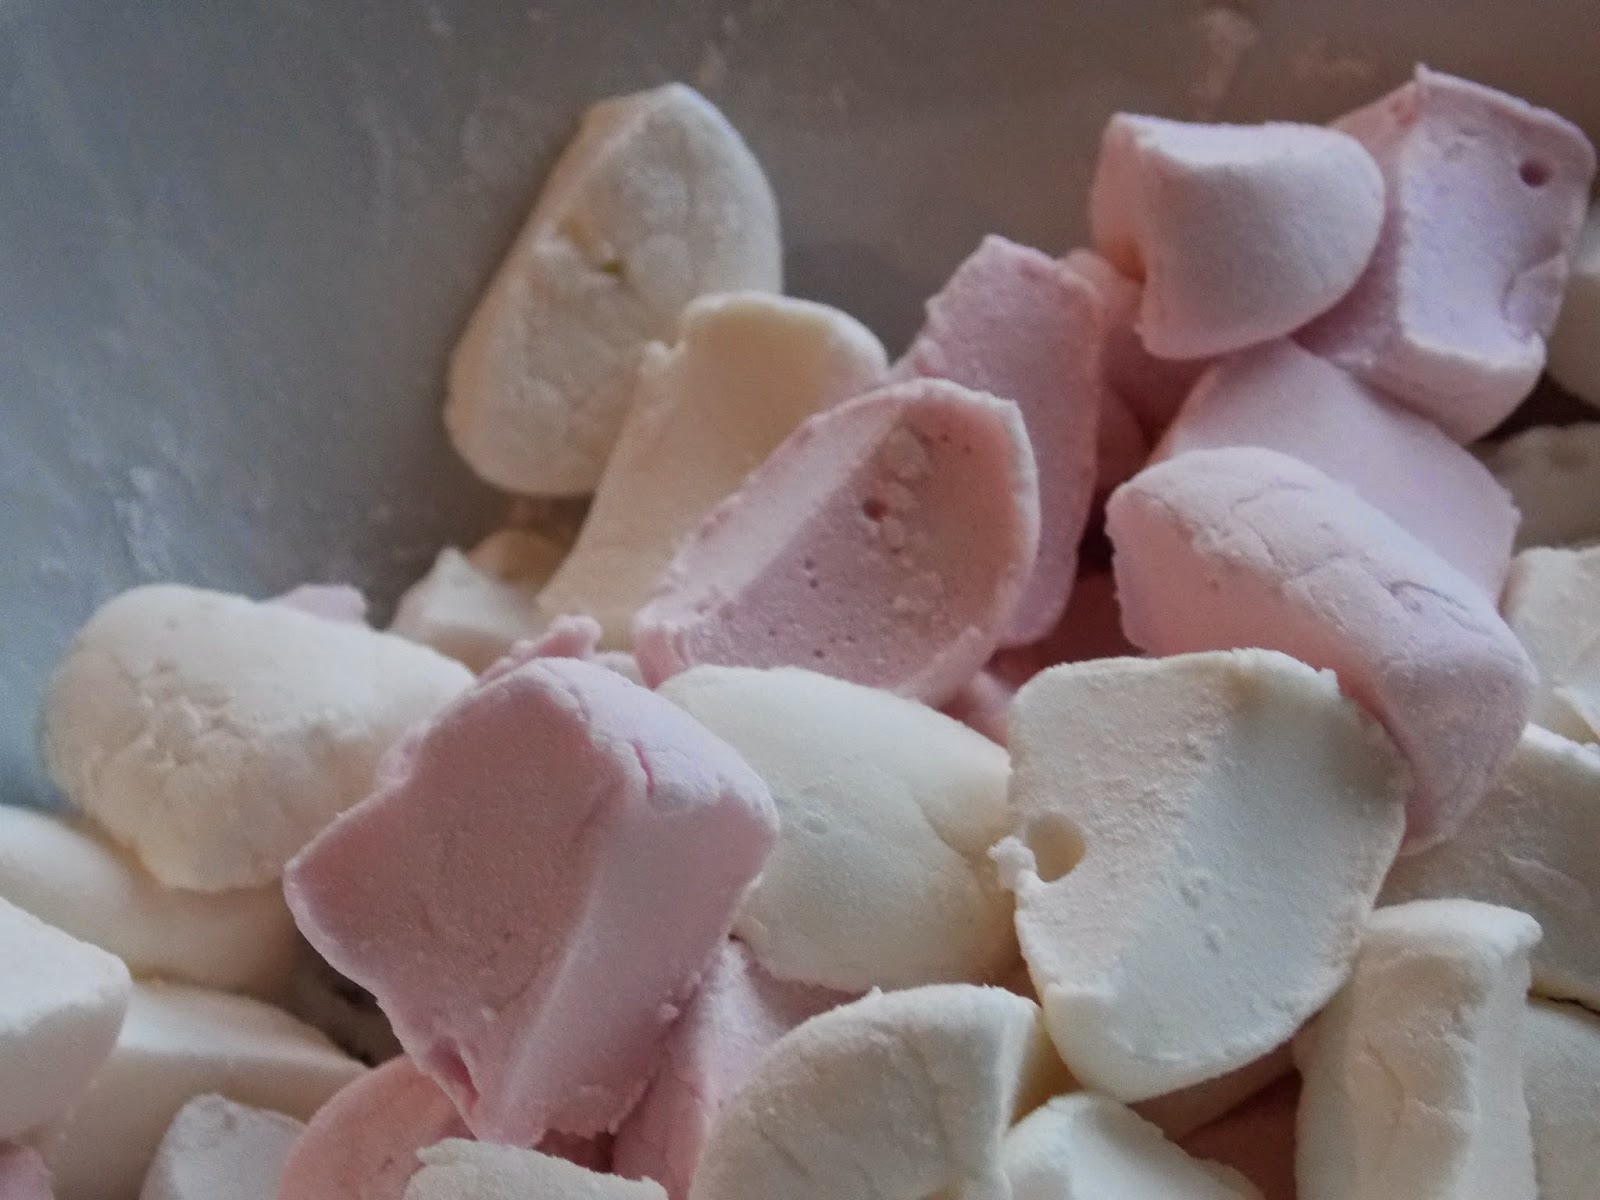
2. If you bought full sized marshmallows, you're going to want to cut them in half. (Personally, I use the normal sized ones because they taste nicer, but it's up to you!) I find that the easiest way to cut them is to use a pair of kitchen scissors, though you'll find that they all stick to each other afterwards and you don't want to add them to your chocolate mix like that. To solve this issue, sprinkle some icing sugar into the bowl you're cutting them into and coat them in it. Problem solved!
You could also use a small, sharp knife to cut them in half- though you may want to coat it in icing sugar before hand.
3. If your glace cherries are quite large, you may want to cut them in half. Mine were fine, so I just left them :)
4. Break the chocolate into it's single squares and pop them in the pan!
5. Get a strip of baking paper to line your tin! I usually do mine so it fits the width of the tin perfectly but overhangs height-wise. It makes removal a dream!
Onto the exciting part...
Saucepan at the ready guys!
1. Pop the butter/margarine, chocolate and golden syrup into the pan!
2. Heat until everything is melted and nice and smooth- don't forget to keep stirring it as it heats or your mixture will split! Once everything is all good, remove the pan from the heat (and optionally, have a little taste... you know you want to!)
3. Add the bag of crushed oreos! (Note: do not add the actual bag) Now stir, stir, stir!
The easiest way to stir in the oreos is actually to "fold" them in- so scoop up some of the chocolatey mixture and fold it on top of the biscuits and repeat this. It's kind of like a circular motion.
5. When you're happy with the biscuit coverage, add in the rest of your ingredients!
Mmm... Okay, so keep stirring until everything looks nice and chocolatey. When you think you're done...
6. Grab your tin, and press that mixture into it! (Don't forget to lick the saucepan clean of any "leftover" mix!)
7. Pop that into the fridge for a couple of hours (or, overnight is best if you're that organised). When you remove it, cut it up into even pieces of your desired size. I can generally get 12 out of this mix.
And that dearest blog readers, if how you make Oreo rocky road. *noms*
I hope you enjoy this recipe as much as I enjoyed experimenting with it- let me know if you plan to make it, or ever do by leaving me a comment below!
See you all later in the week for some naily-good posts!
~Rachel
You forgot the two posts :)
ReplyDeleteI only missed one! :O Haha, I'm sorry, I've been busy! Just writing it up now. :)
DeleteAnd the other?
DeleteThere isn't another one until tomorrow... I only generally post Monday, Wednesday, Friday, everything else is a bonus :)
Delete