
Hello!
Let it be known that from this day forth, any nail posts posted on Mondays shall be known as "Mail's". Yay!
For the first "Mail" post, I'm going to be sharing one of my new purchases with you...


Let it be known that from this day forth, any nail posts posted on Mondays shall be known as "Mail's". Yay!
For the first "Mail" post, I'm going to be sharing one of my new purchases with you...
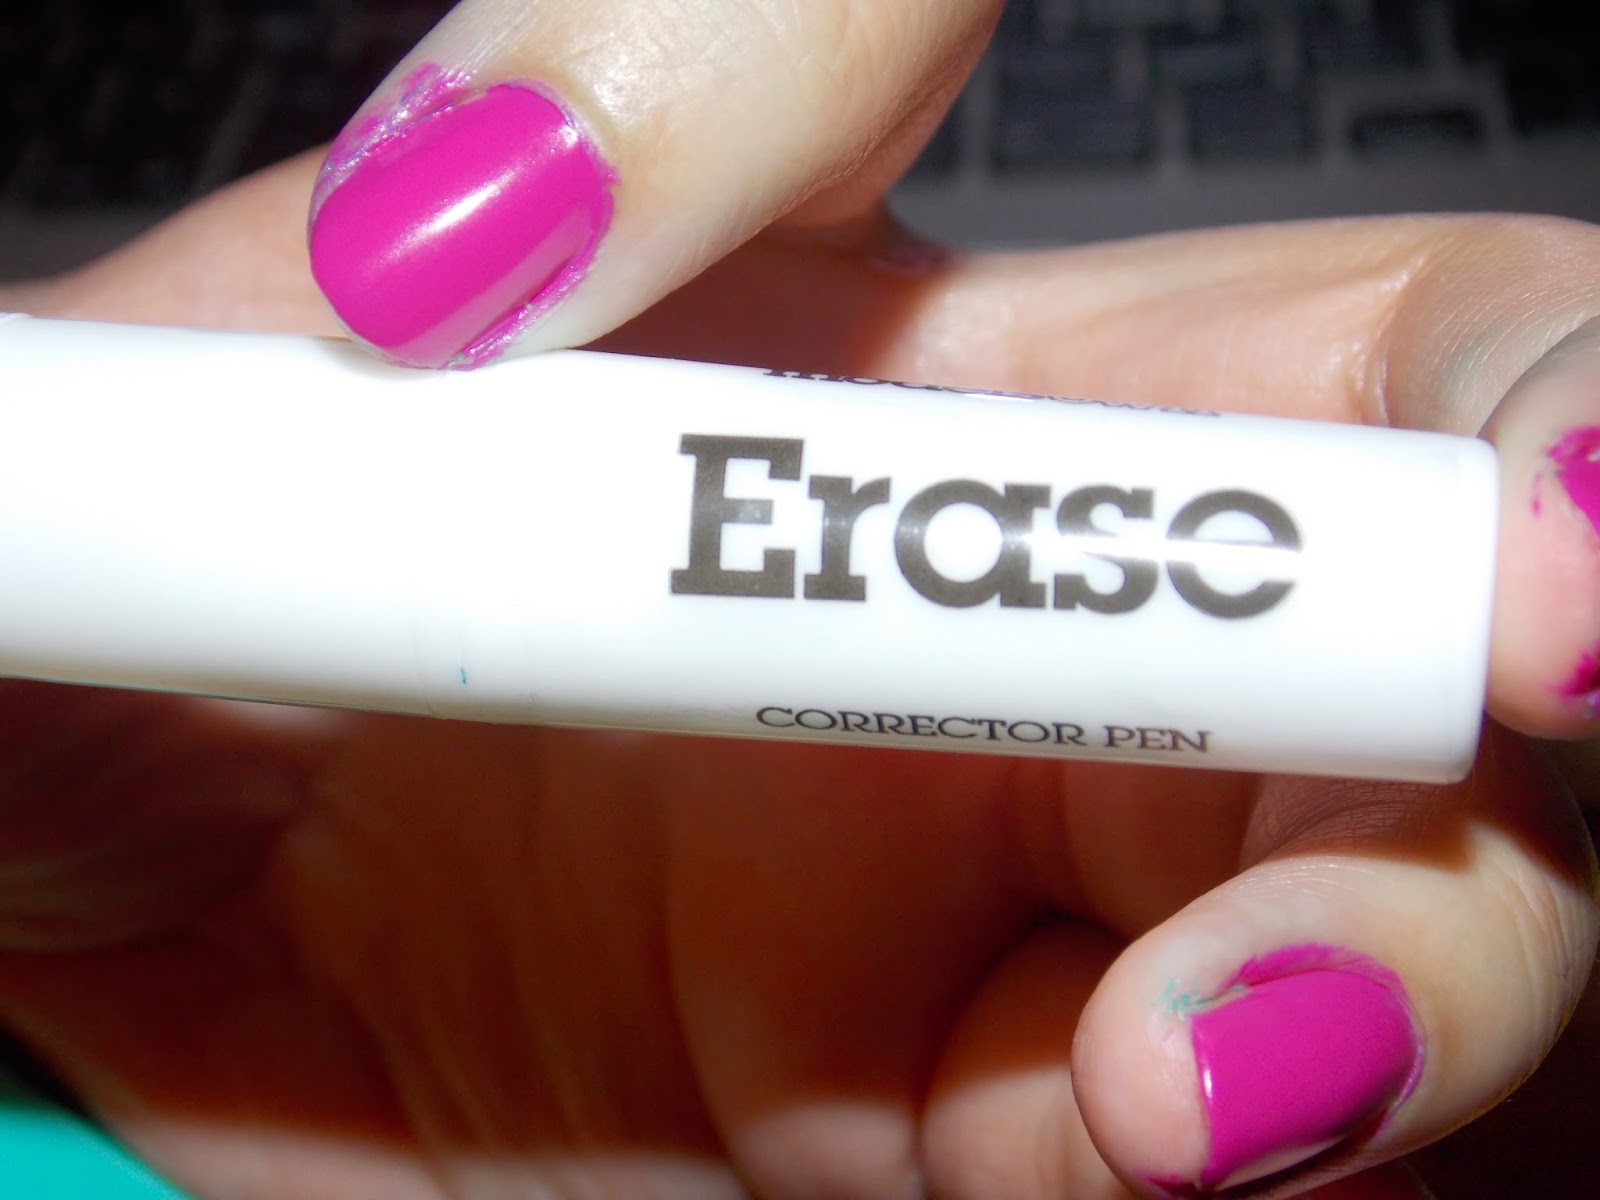
Model's Own's "Erase" Corrector Pen!
I feel like this could be a major turning point in my blog's image quality, as I no longer have an excuse for messy mani's.
Though I'd first like to point out that I feel like I have come quite far since the beginning of my blog, and no longer post images such as this...
I mean, just look at that thumb!? (Polish is Barry M Spring Green)
...Except for today, I'm posting a very (purposefully) messy mani, to show you how the corrector pen can work! Also please keep in mind that I actually did this mani pretty much in the dark, around midnight the other day. :D
I quite enjoyed being super careless with my painting, actually. Is that wrong of me?
Also, you may recognise the colour from Friday's post! Barry M's "Rhossili"
This corrector pen then- what's the deal with it? Well, it's acetone free, for a start, so it isn't going to dry out your skin too much. It's basically, a highlighter nib soaked in some form of nail polish remover, and (personally) a lot easier and more precise to use than a cotton-bud is.
There are also two more nibs tucked away inside the lid of the pen- so hopefully it'll last a while! The shape of the nib is really useful, as you can get detailed by just using the pointed end, or you can clean up any large messes using it flat. Here's the magic it worked...
So, they're still a little messy, but just look at the difference! Plus, you can easily go around your nails again! If you notice in time, before you take pictures that is.
So yes, the Models Own "Erase" corrector pen, for only £4.99 from Superdrug or ModelsOwnIt.com. If you're a messy pup like me, I definitely recommend it. :)
Thank you for reading and I shall see you Wednesday!
Comments
Post a Comment
I read and reply to every single comment, so make sure you leave one! (No verification needed)